It's getting real! You’re finally at the stage in the product development process where you’ve received your first prototype! Now what?
You'll need to evaluate your prototype (aka "sample"), and communicate the change requests to us, your team. Ideally, this is done in person, however, we work with clients who are located throughout the US, and it’s not always possible for us to meet in-person for fit sessions and prototype reviews. Instead, we will meet remotely over Google Meet. For those virtual sessions, we ask for clients to send us photos and video to clearly show these, even if you plan to wear or show it live in the meeting, so we can reference it later.
Either way we meet, this session is essential for us to see how the garment fits, or how the product looks and performs (for non-apparel items), and note any areas that may need to be adjusted. Prior to our meeting, it’s important for you to thoroughly evaluate your protoype, so you come to the meeting prepared with notes and comments, and we can work through refining the design and getting closer to sending the style to production.
.jpg)
FIT | FUNCTION | FABRICATION
Once you have your prototype in hand and begin to review it, there are three main things to keep in mind: Fit, Function, and Fabrication.
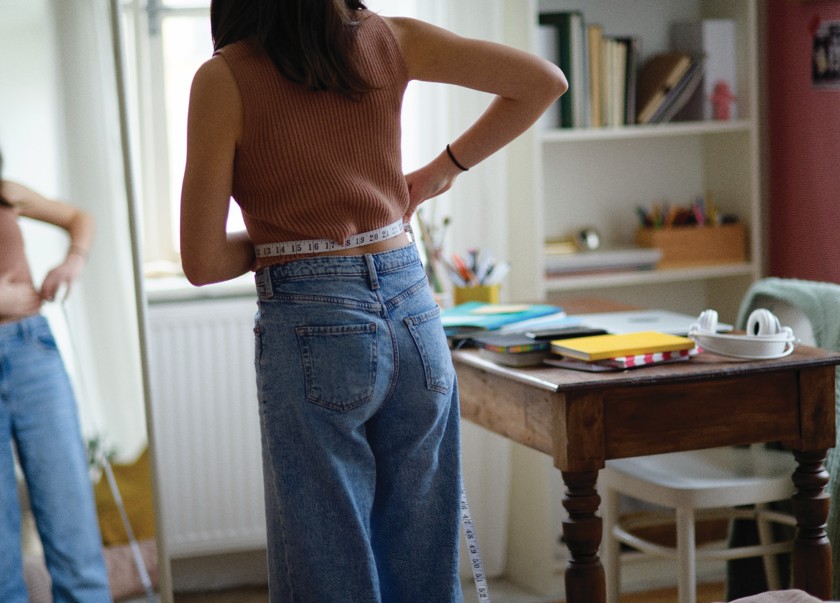
- FIT: How does the garment look and feel when it’s on the body? Is it too big/small? Too tight/loose? Are there any areas where the fit is off or doesn’t look just right? For tops, pay attention to neck size and shape, how do the shoulders and sleeve cap fit, sleeve length and width, check the placement of darts, etc. For pants or skirts, check to see if the waistband is hitting at the correct spot on the body for your design? If it has an elastic waistband, is the elastic tight enough to fit comfortably without sagging, but loose enough to not feel constricting? How do the crotch, hips, thigh, knee and leg opening look? Does the side seam fall straight vertically, or does it sway forward/backward? How’s the length? For all garments, check for "drag lines" or wrinkling that appear.
- FUNCTION: Test out any functional elements. This includes pockets and closures. It also includes wear-testing, moving around, sitting, standing, walking, squatting, etc. to see how it performs. Don't just try it on and stand still. Are the pockets placed where they are natural to reach into? Is the pocket bag depth appropriate for the items that may be placed inside? Does the garment achieve its intended purpose? For example, if it’s a shapewear garment, does it offer enough compression in the right areas? If it’s a bag with multiple compartments, do all the items you want to have go in the bag actually fit inside, and can you access the items with ease?
- FABRICATION: This category includes not only the actual material or fabric that the garment is made from, but also any trims, and the construction methods used. This is a good time to note whether you need to add bar tacks for security, change out a trim element that isn’t working, or add topstitching to make a seam lay more smoothly or to make it appear more finished. Sometimes the fabric itself is changed during the design process because it doesn’t hang as you’d hoped, or isn’t serving the design in the desired way. Maybe you’re making a sports bra, but the current fabric you’re using doesn’t wick away moisture like you want it to. Now is the time to consider changing to a different material that can offer those wicking properties.
As you review your prototype in advance of your meeting, take detailed notes and photos to support. The purpose of the prototype review meeting is to ensure that your final product is going to fit well, function properly, and is made from the right materials and appropriate finishes for your price point, market, and design aesthetic. You don’t want to send it off to the factory to be produced, only to realize that it still needs major revisions. The more you prepare in advance, the better your pattern maker can work with you during the session to recommend and apply the changes for improvement.
Here are a few additional tips for having a successful virtual fit session:
- Take measurements of your fit model before the session begins - especially in the case where you or a friend is your brand’s fit model, but even when using a professional model. It’s important to make sure the model’s measurements are consistent each session. Recording and noting whether the model’s measurements have changed is helpful to refer to when determining which changes to make to the garment. If you are your own fit model, have someone else help you take your measurements to ensure they are accurate. In the case of in-person meetings, we will take care of this for you!
- Lighting and available space - Make sure you have a well-lit room, and space within your webcam’s view to show the entire garment. If it’s difficult to see something, it may not be addressed properly in the fitting and thus missed in the pattern revisions. If lighting during the meeting is difficult - the next tip can help.
- Take photographs and video in advance of the garment (front, back, side, and close-up's of any problem areas). Send this in advance of the fit session if possible so we can address these areas in more detail together. If you are your own fit model, get a tripod and timer, or have someone else take the photos for you. This is especially important because you cannot necessarily see everything by looking down or over your shoulder in a mirror as you can when you stand naturally and straight on, and it will distort the garment which can either hide problems that exist, or create ones that don't.
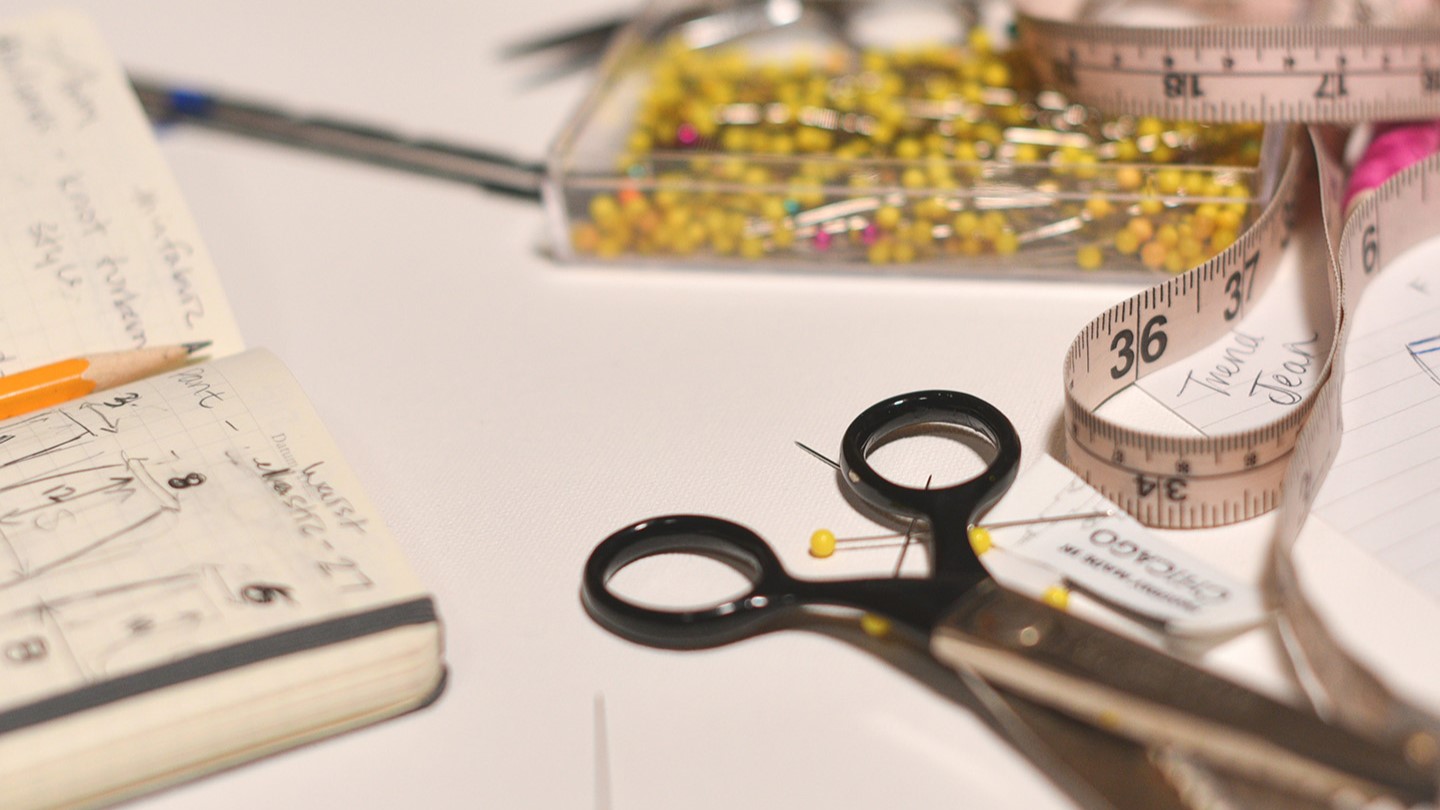
- Have your tools ready! You’ll need pins (safety or straight pins), chalk (or other marking tool), and a tape measure. Marking the garments during the session and sending them back to your pattern maker will further help ensure that all corrections are made accurately. Having a tape measure on hand is best to convey specific changes, rather than estimating how much you want to change something by. We need concrete numbers, not "take a little bit off here".
- Professional fit models can be hired to work virtually, or in-person with the pattern maker or the designer. They are trained and experienced in live sessions, and able to provide valuable feedback on the fit of the garment, as well as taking care to measure and photograph the samples, even if they work remotely. In the case where the brand is less experienced, a virtual session or hiring the model to meet with the pattern maker is probably the best bet - so that the pattern maker can see the garment live, while the designer video conferences in to direct and provide feedback.
Our main goal with every client is to make sure that they have a well-fitting, fully functional product before sending it off to production. It’s a collaborative effort though, so it’s important for clients to be hands-on and involved throughout the development process, especially during the prototyping stage. With the right tools, technology, and clear communication, it’s very possible to be successful without ever even meeting your pattern maker in person. We’re happy to be able to effectively service our clients throughout the country.
